Guide
Getting clean results
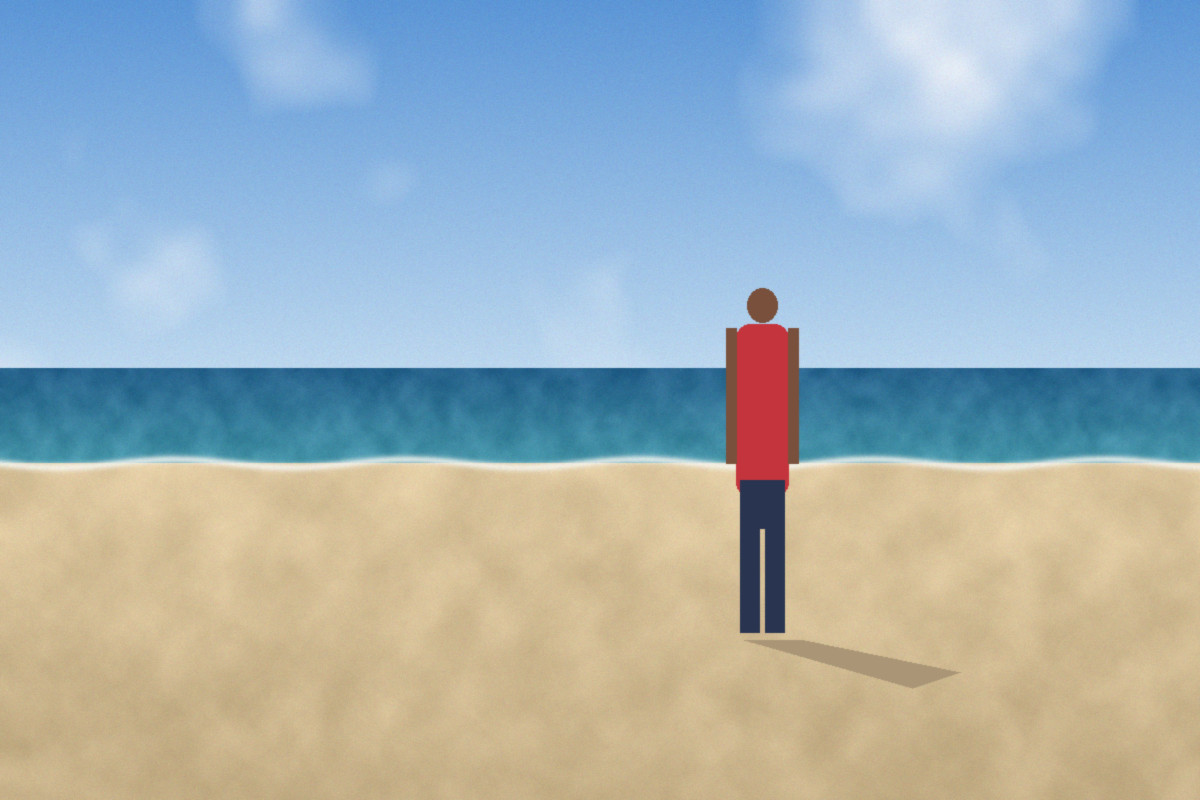
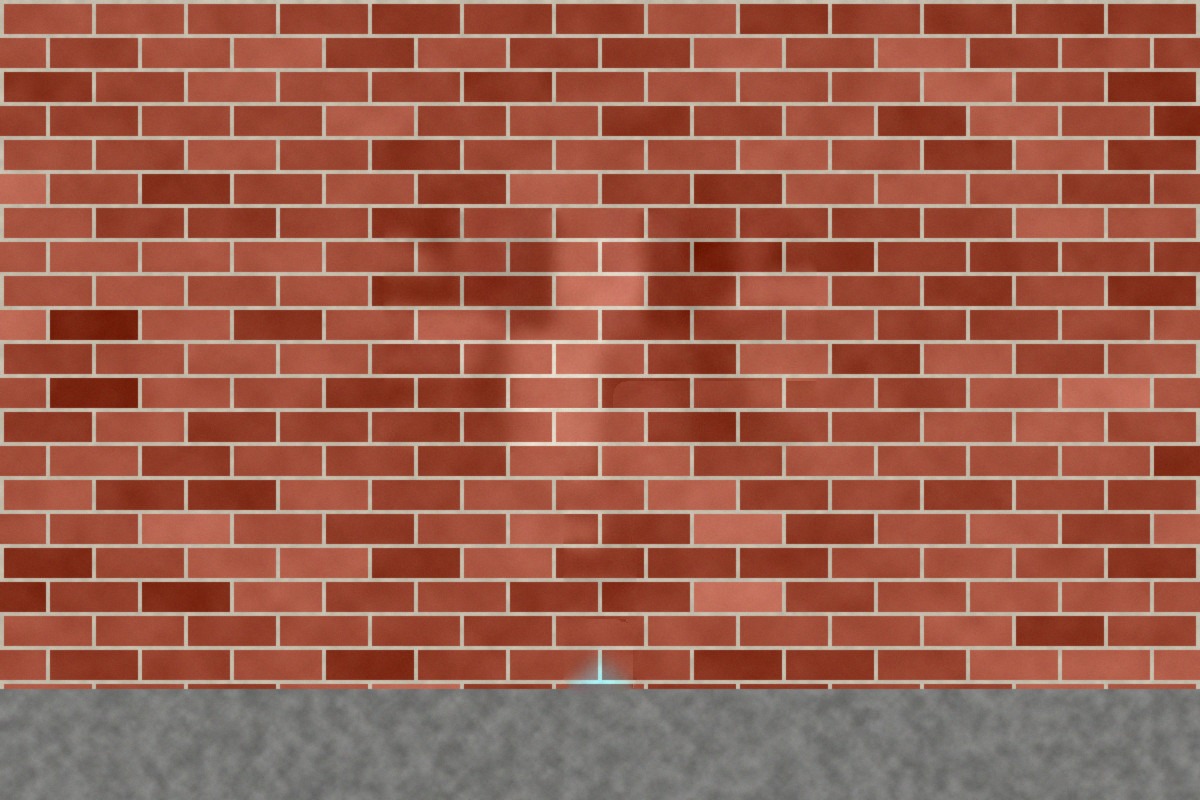
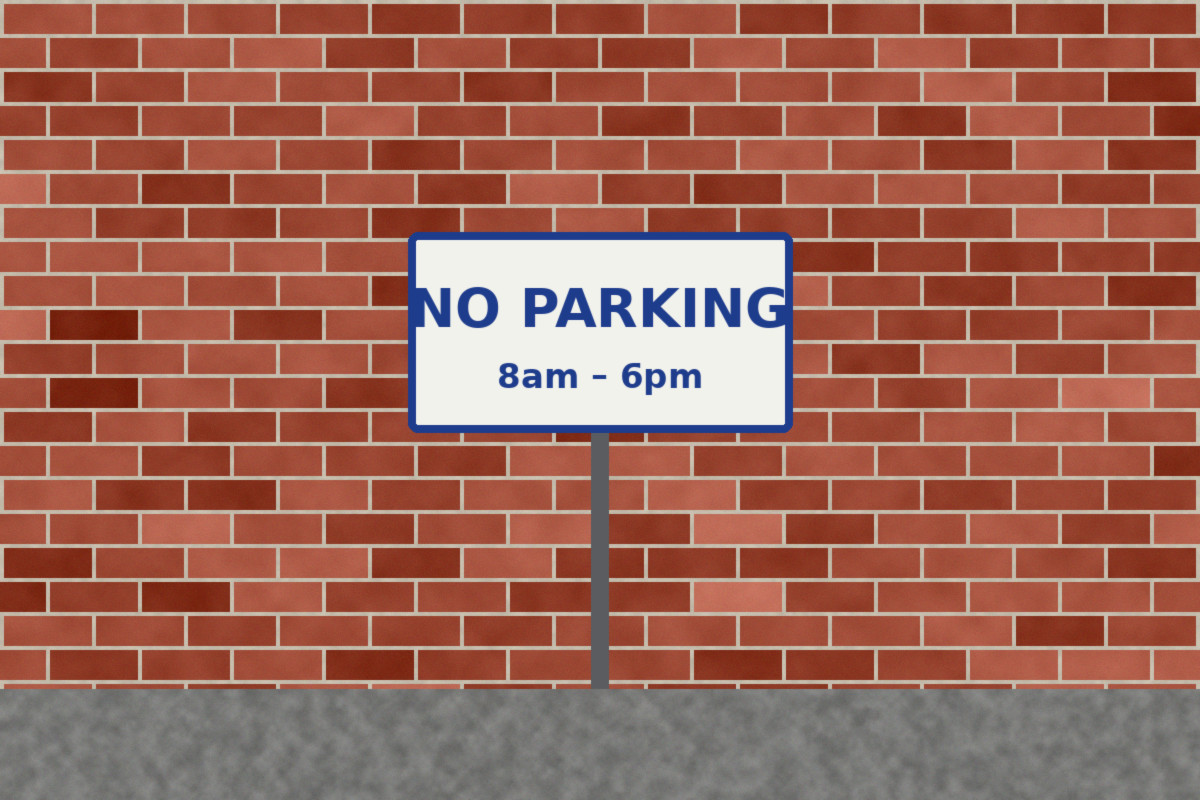
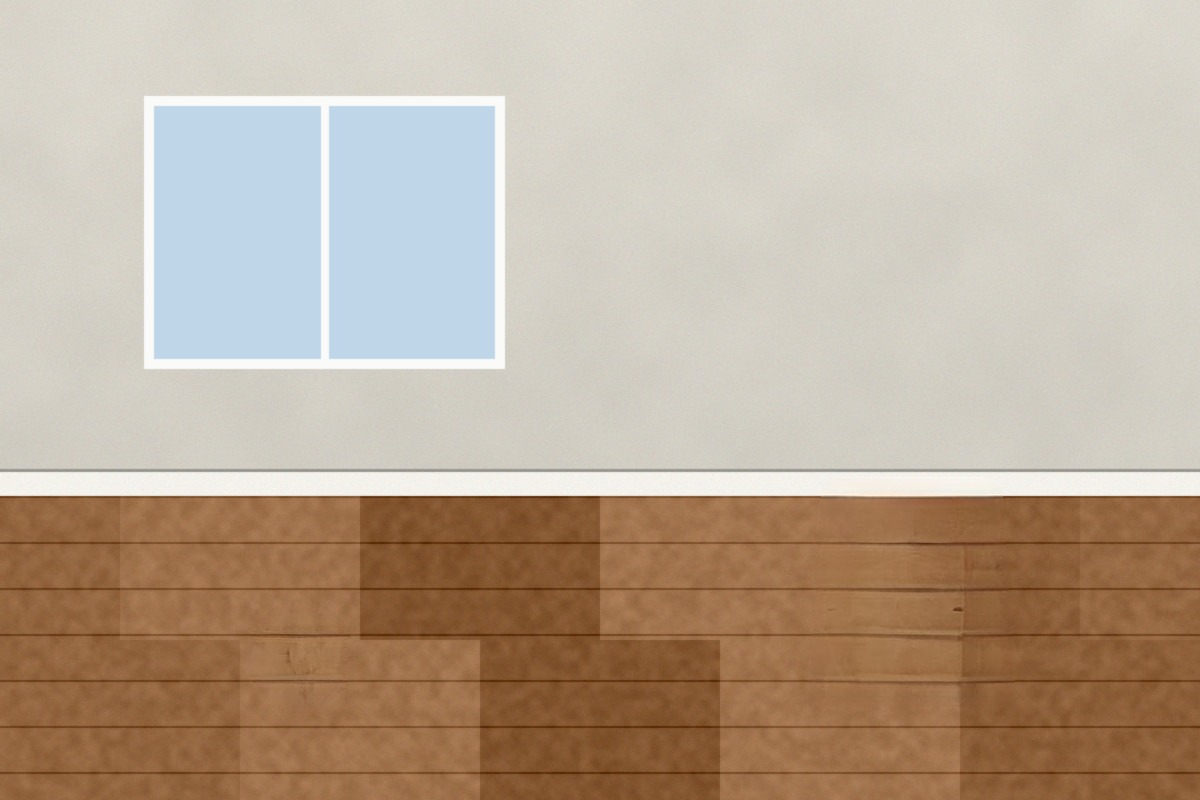
Most bad erases come from three things: a selection that stops exactly at the object's edge, a hole too big for its surroundings, and the wrong engine for the surface. Each has a fix that takes seconds once you know it. The pairs on this page were all made by this editor.
1. Select a little more than the object
Every object has a soft edge: a few pixels where it blends into the background, plus a faint halo from the camera's sharpening. A selection that stops exactly on the outline leaves that halo behind as a ghost. The editor already grows each selection by a margin scaled to the object (Tight, Normal or Generous under Selection), so you do not need to paint wide — but do include anything attached: the shadow on the ground, the reflection in a window, the post a sign stands on. Smart Select and People mode propose the shadow in amber; accept it.
2. Erase one thing at a time on busy backgrounds
The rebuild for each hole is computed from its surroundings. If you erase three neighbouring things at once, each one is rebuilt from a ring that still contains the other two holes. Mark several things and press Erase once and the editor already handles them as separate objects when they are apart; when they touch, erase them one after another so each repair sees clean background. On Remove photobombers this ordering is automatic: smallest and farthest first.
3. Big holes: split them, or give more context
The larger the hole, the more has to be invented. For a large object, erase it in two or three pieces, starting from the edge that has the most background around it. If a result looks blurry or wrong, open More fixes: More context shows the AI a wider window, Remove remaining edge grows the repair over a leftover outline, and Try another result gives a different reconstruction. You can switch between up to four candidates and press Tab to step through them.
4. Match the engine to the surface
The result bar names the engine that made each result. That is not decoration: different surfaces want different engines.
- Flat colours and gradients — posters, slides, screenshots, studio backdrops. The flat-fill solver fits the surface exactly and needs no AI. It runs automatically in Text mode; see Edit text in image.
- Regular textures — brick, tiles, planks, fabric. The texture engine copies the real pattern; the AI is consulted only if you ask for another result.
- Natural scenes — grass, sand, water, foliage, sky with clouds. The AI rebuild works best, at Balanced or Best quality.
- Straight lines through the hole — walls, skirting, horizons, railings. Turn on Structure Repair so lines are continued before the gap is filled.
- Shadows — do not erase them; lift them. Remove shadow from photo relights the surface the shadow sits on.
5. Tell the repair where to copy from
Sometimes the best source is obvious to you and not to the software: the clean stretch of wall to the left, the empty bit of beach behind you. Under More fixes, Pick region source lets you drag a box over that area, and the repair copies from it, level-matched to the surround. Follow it with Blend edge if a seam shows.
6. Check at 100% before you download
Press 1 to view at actual pixels, then hold O or Space to flash the original. Problems that are invisible at screen size — a repeated patch, a soft spot, a half-erased shadow — are obvious at 100%. Anything you do not like can be painted back with the Restore brush.
Real results
Drag across each image to compare. Default settings, one action each.